
Bretton Clough - Peak District Walk
Tuesday 28th October 2008
Today I was joined by John as he took a day off from designing websites to join me on a walk. The forecast was for sunshine but it never really appeared staying grey and cold for most of the day. The route was picked to see if I could access the trig point on Abney Moor and to explore Bretton Clough assuming there was access to it from the point I hoped to enter it at. The trig point remained out of reach but there was access to Bretton Clough, I guess one out of two isn't bad.
Start: Sir William Hill Road (SK 2246 7802)
Route: Sir William Hill Road - Eyam Moor - Highlow Wood - Offerton Moor - Smelting Hill - Abney Moor - Bretton Clough - Sir William Hill Road
Distance: 10 miles Ascent: 539 metres Time Taken: 6 hours
Terrain: Some moorland but good tracks throughout.
Weather: Grey and cold.
Pub Visited: None Ale Drunk: None
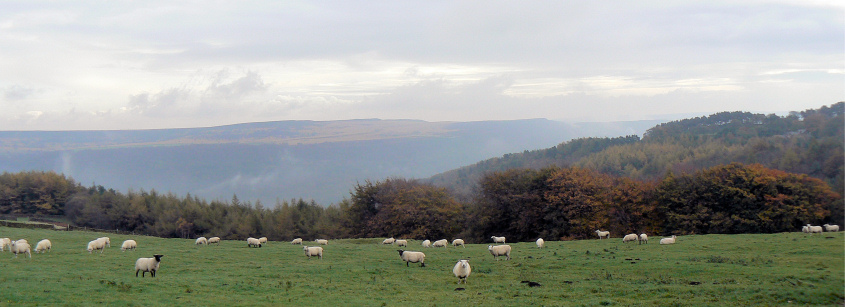
The last of the morning's mist is just visible in the valley below Froggatt Edge.
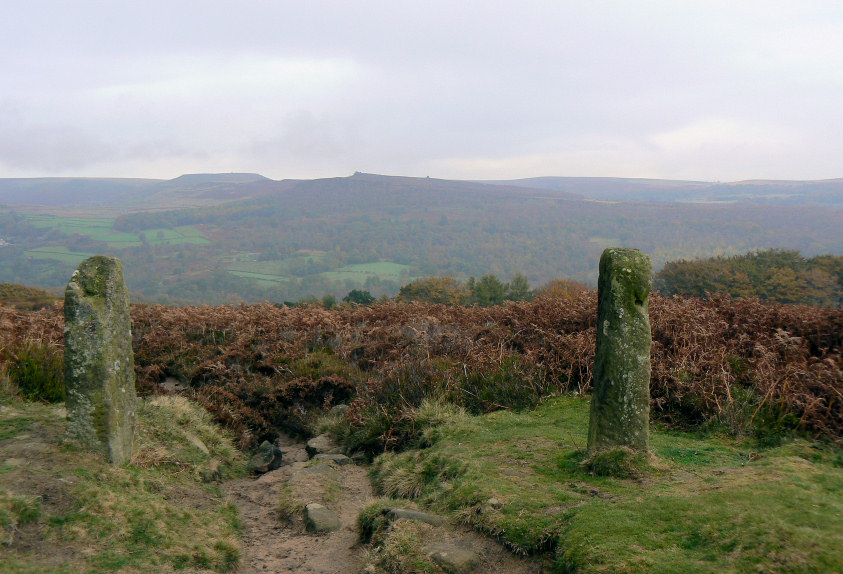
Heading across Eyam Moor, with Over Owler Tor and Higger Tor in sight for most of the way.
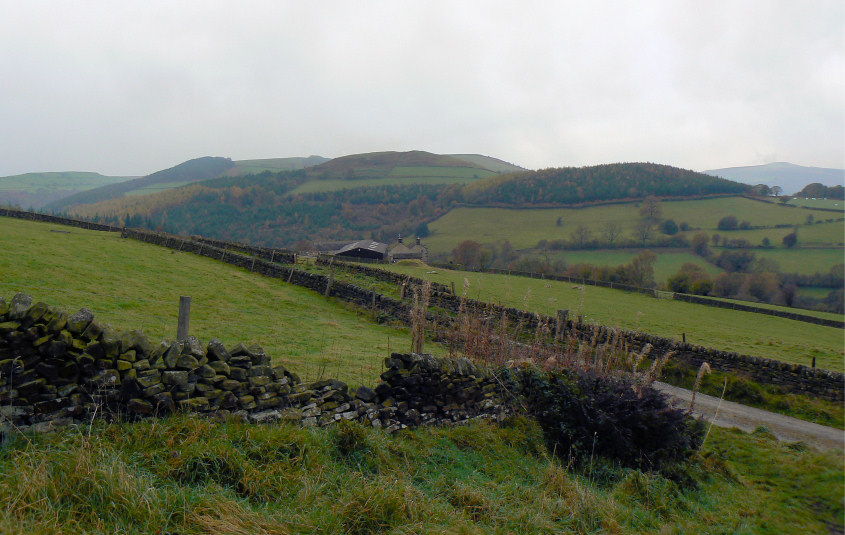
The route takes us along the track and round High Low, the second hill from the right.
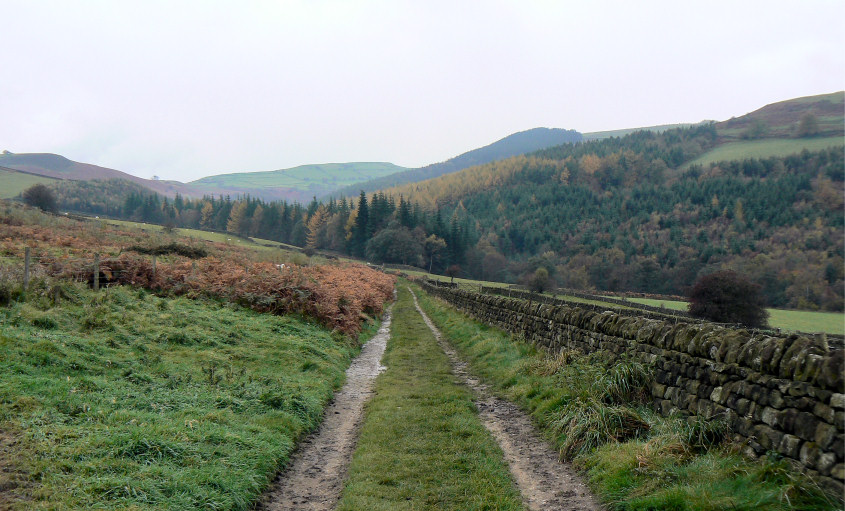
Smelting Hill ahead, as we approach Highlow Wood.
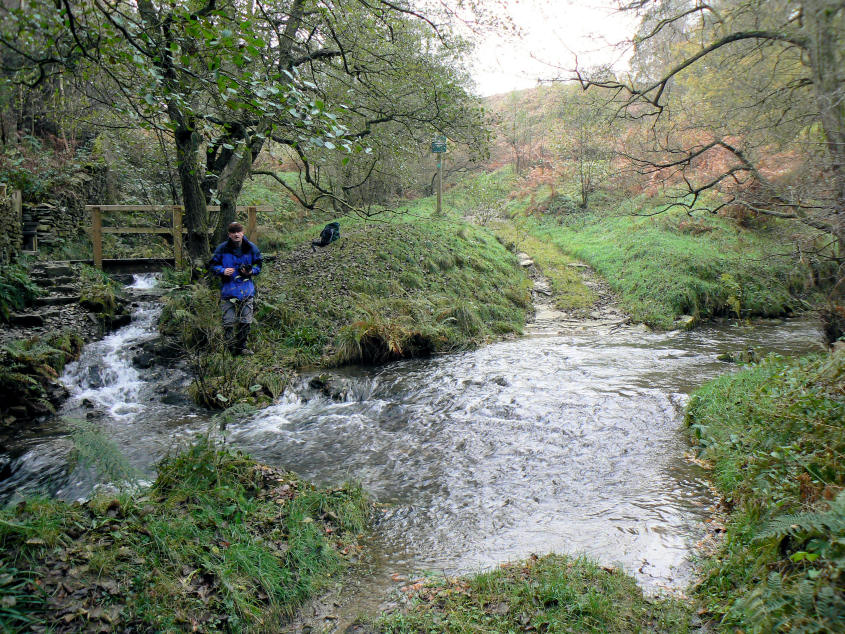
Highlow Brook.
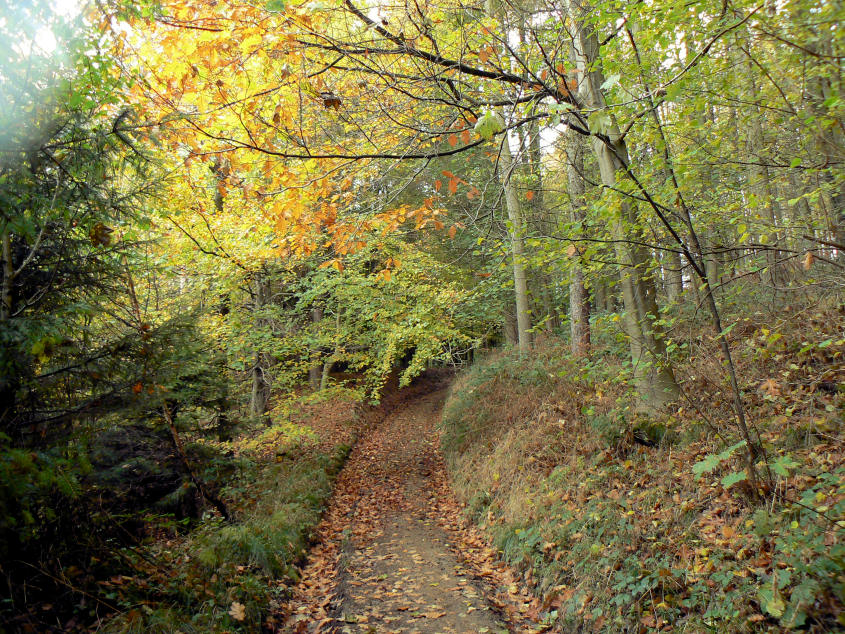
Autumn colours as we walk through Highlow Wood.
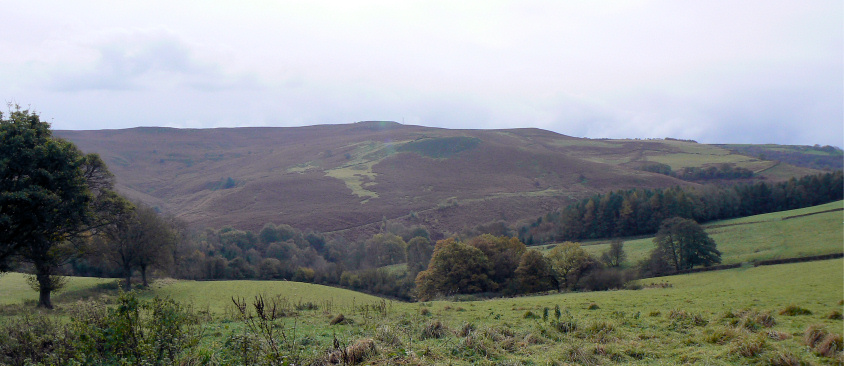
Looking back across Highlow Wood to Eyam Moor.
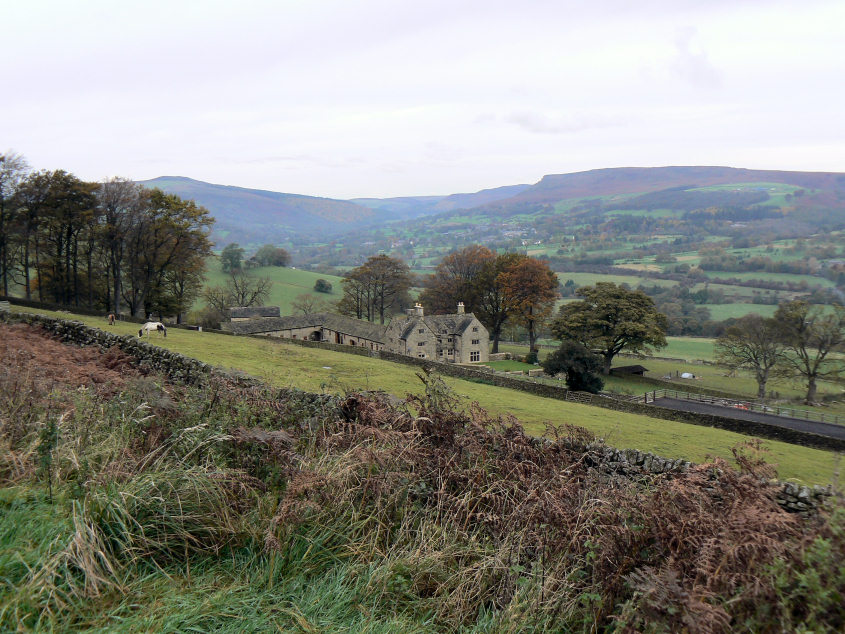
Bamford Edge seen across Hope Valley with Derwent Edge beyond it.
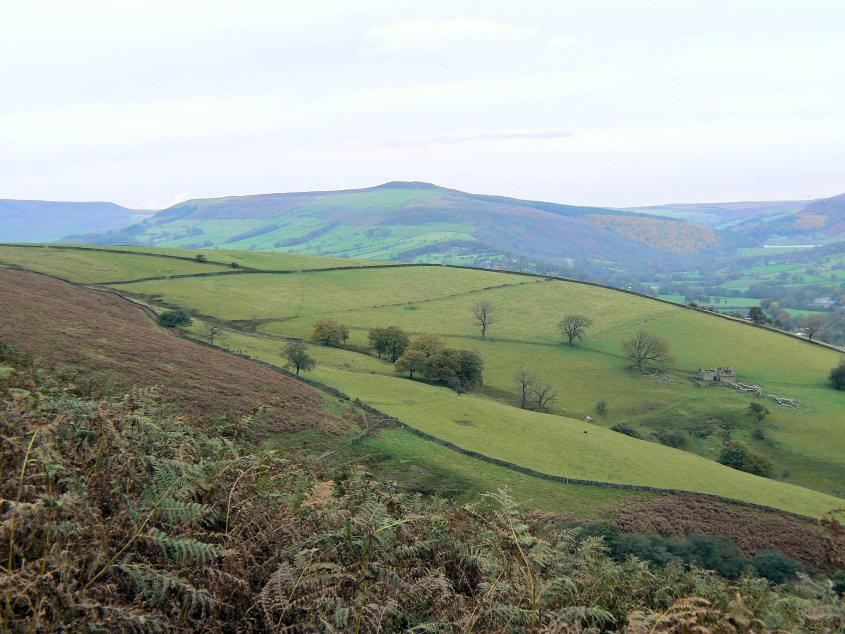
Win Hill from the climb onto Offerton Moor.
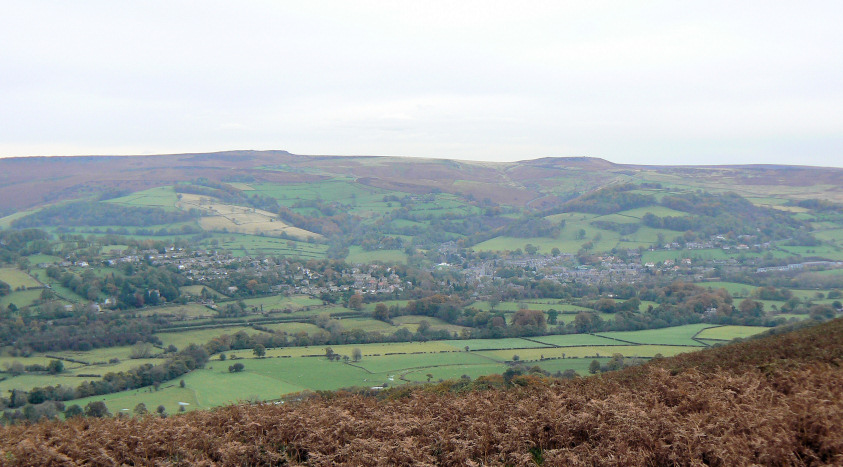
Looking across Hathersage, to Stanage Edge and Higger Tor, from Offerton Moor.
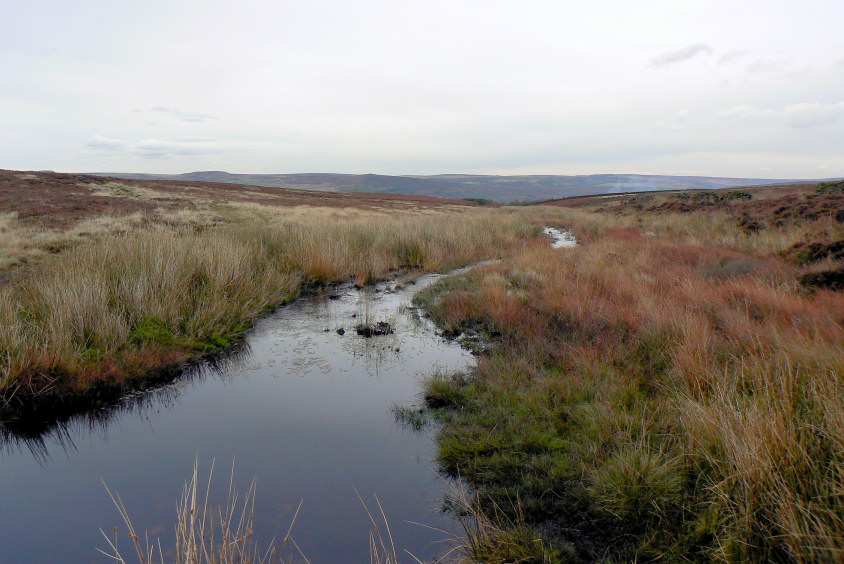
Siney Sitch, the 'boundary' between Offerton Moor (L) and Smelting Hill (R).
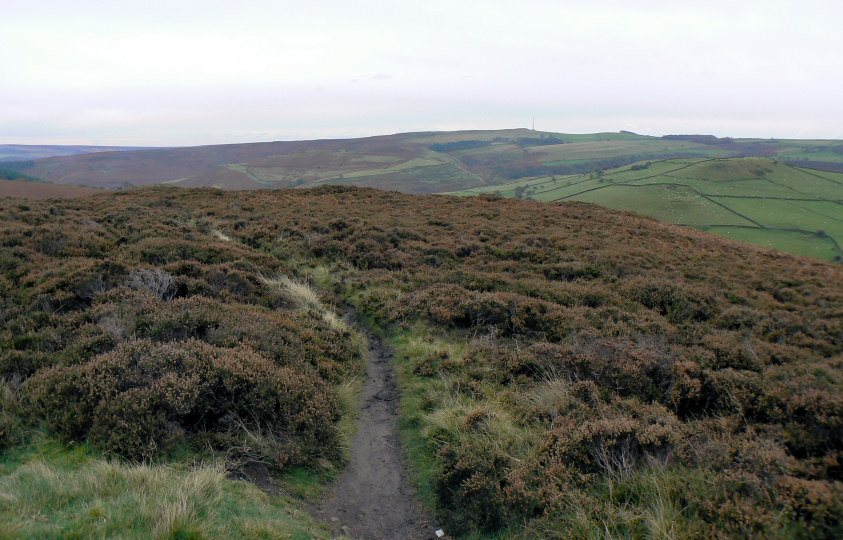
The view of Sir William Hill and Eyam Moor from our lunch spot on Smelting Hill.
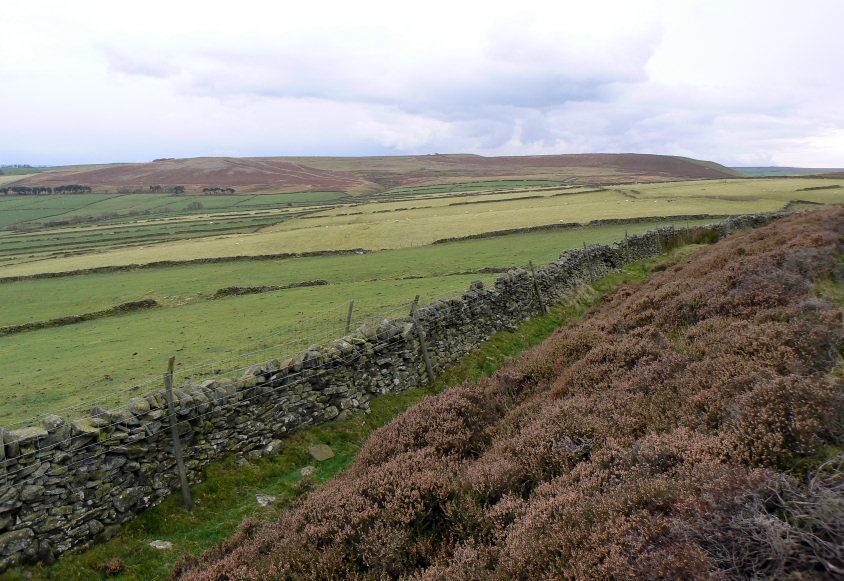
Looking to Abney Moor from the path on Abney Moor. If you look at the map you can see that Abney Moor is split into two separate sections.
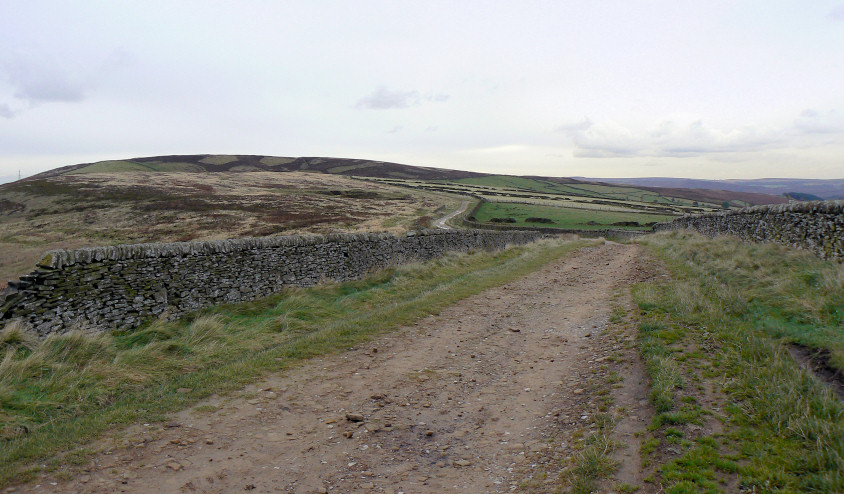
The track joining Abney Moor to Abney Moor.
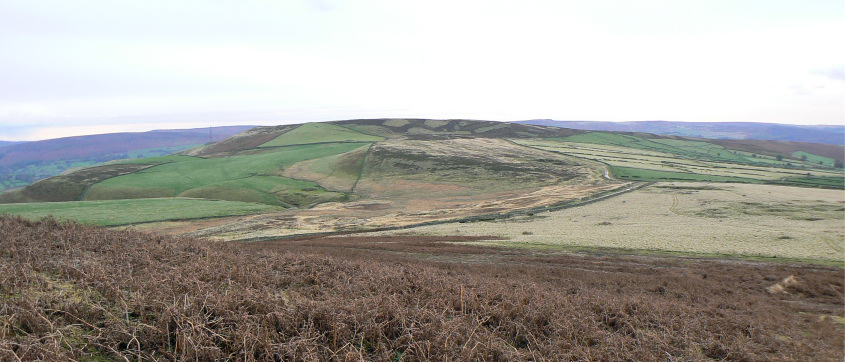
Looking back to the first Abney Moor with Stanage Edge behind it.
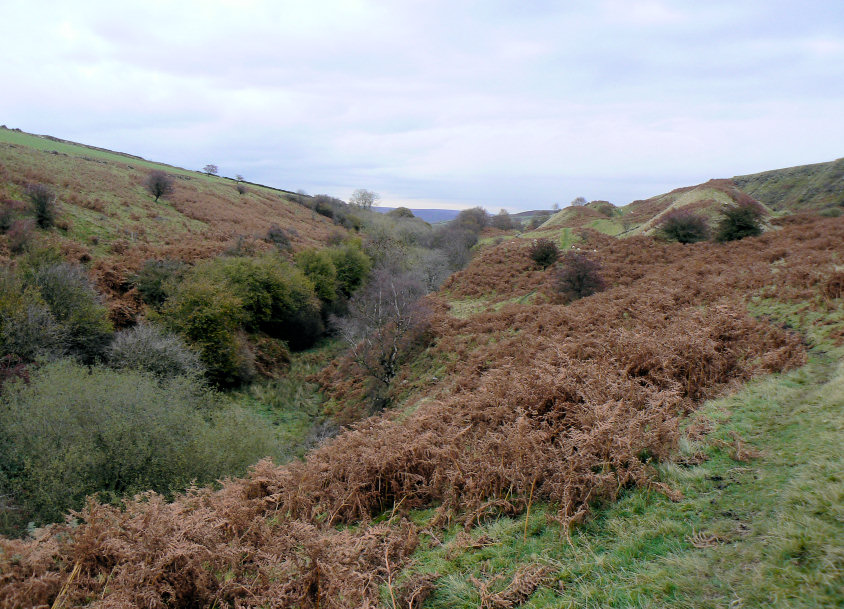
Entering Bretton Clough by the new gate. I'm not sure if this section is actually Bretton Clough but with it being un-named on the map that's what I'm calling it until I'm told anything different.
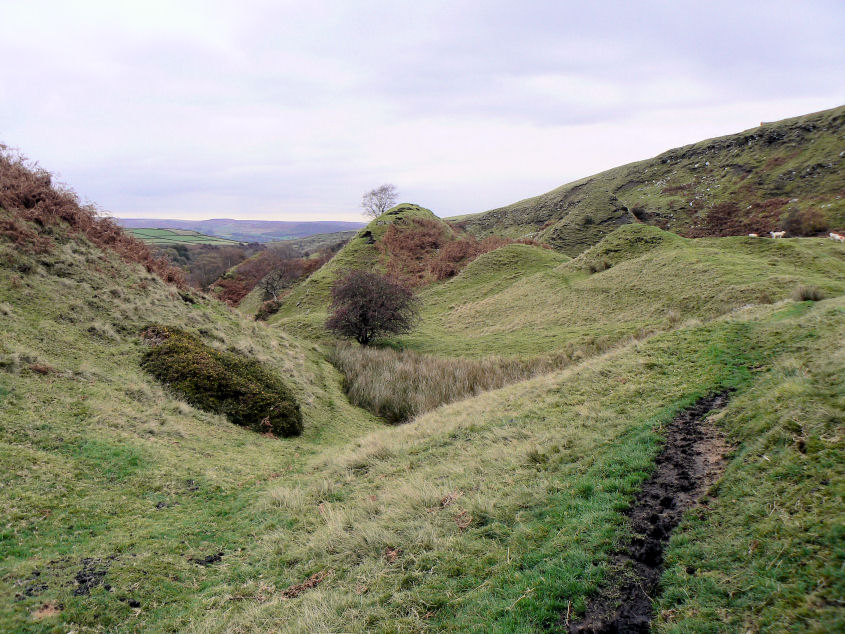
Walking through Bretton Clough is a little different as you can see. I think, looking at the sides of the clough, that the unusual landscape is due to a landslip
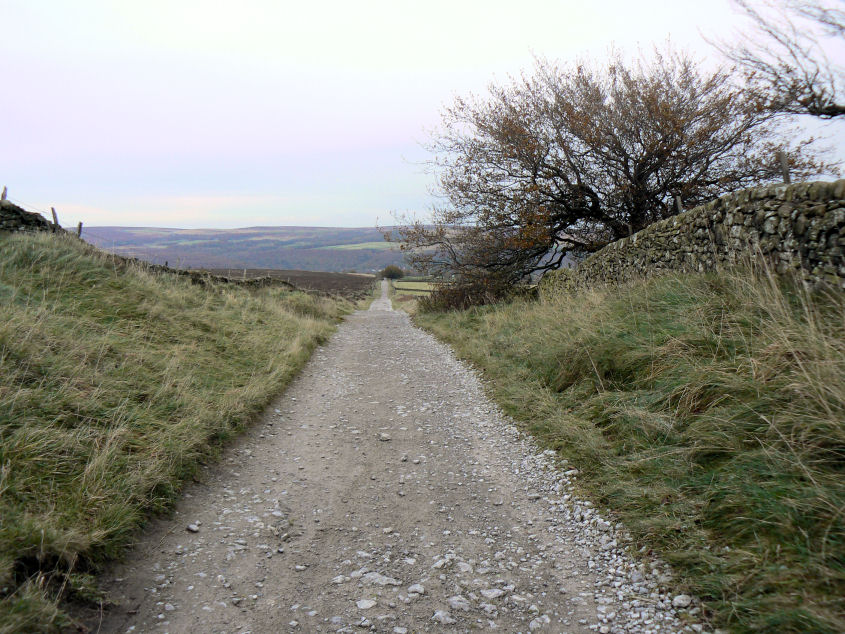
The final part of the route is a walk along Sir William Hill Road to the car, which is parked by the tree at the far end of the road.
All pictures copyright © Peak Walker 2006-2023